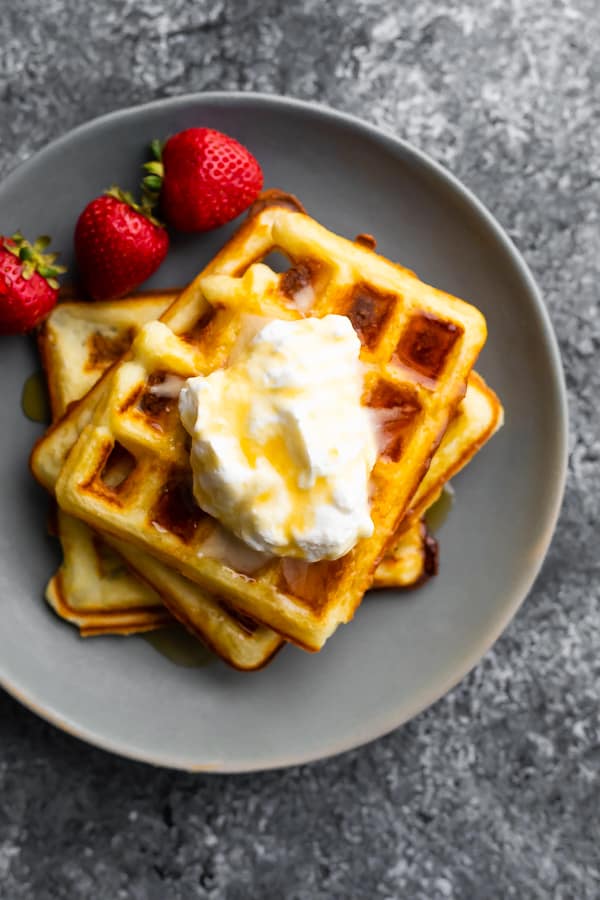
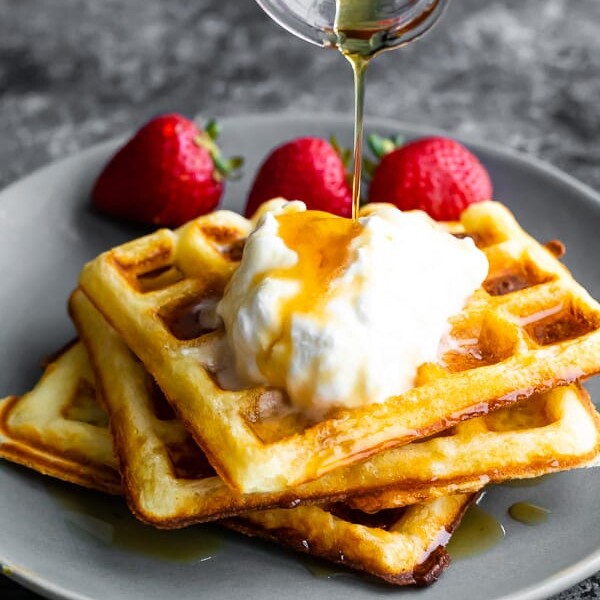
These crispy buttermilk waffles have just 6 ingredients and are made in one bowl! With crispy edges and soft, fluffy insides, these waffles are absolutely delicious and meal prep friendly!
Are you on team waffle or team pancake? While we have 7 homemade pancake recipes on the blog, we actually adore waffles just as much (if not even more)!

These crispy buttermilk waffles are the best of both worlds when comparing pancakes and waffles. With irresistibly crispy edges and soft, fluffy insides… you’re going to be coming back to this recipe again and again for Sunday brunch!
This go-to buttermilk waffle recipe is simple to prepare - no need to separate your eggs, and you can mix everything up in one bowl! Cook them ahead and store in the fridge or freezer for an easy meal prep breakfast, and re-heat in the toaster!
Reasons You'll Love This Recipe
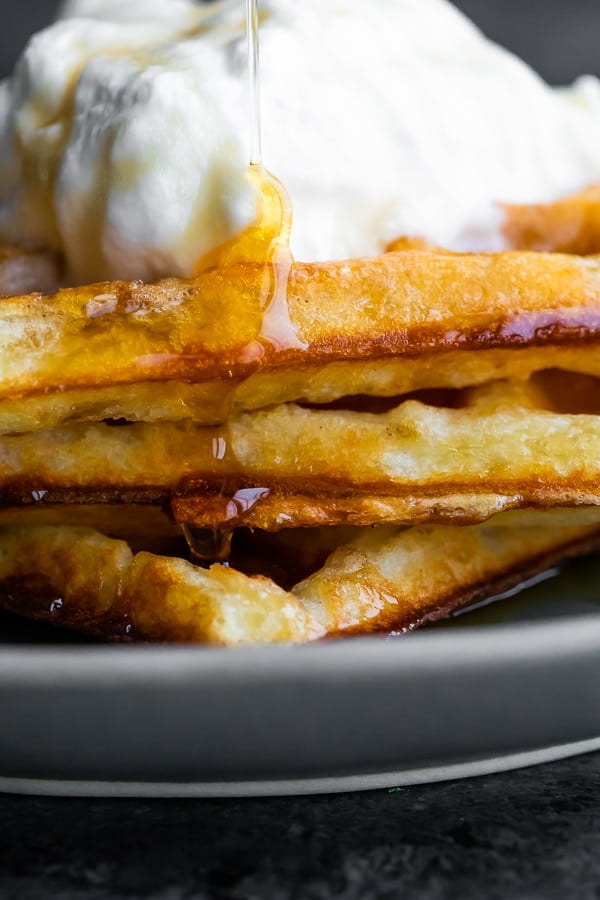
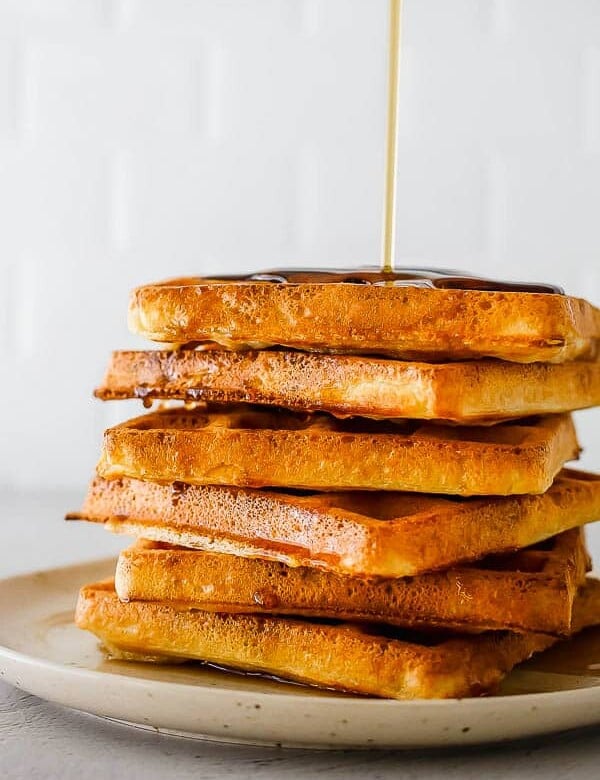
- They are buttery and fluffy, with crispy edges and soft insides
- With 6 ingredients, the batter can be mixed up in under 10 minutes
- you can make them ahead and reheat in the toaster, or serve them for a fancier Sunday brunch!
Recipe Video
Watch the video below to see how to cook this recipe! You can find more of my recipe videos on my YouTube channel.
Ingredient Notes
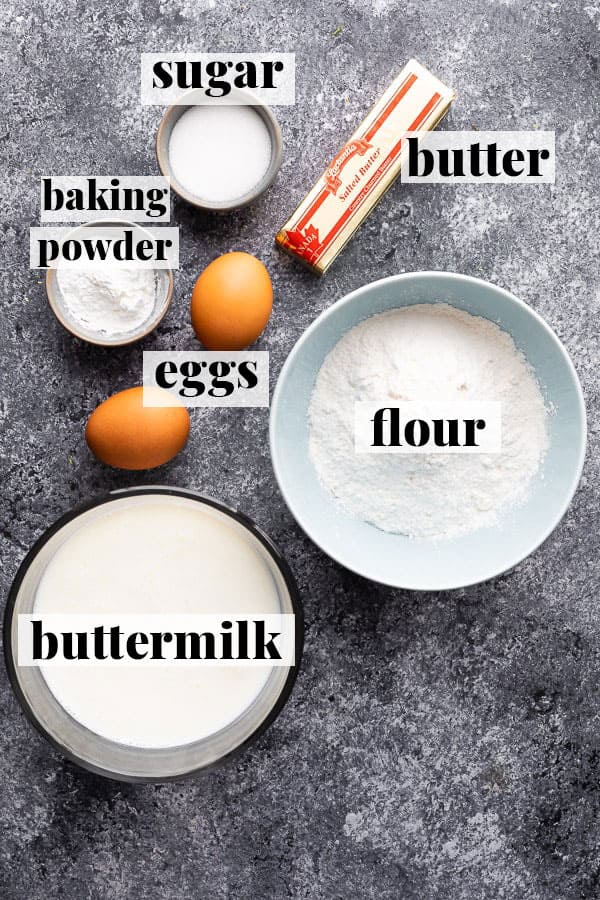
- Eggs - go for large eggs
- Flour - you can use all-purpose, white whole wheat, or a mix of 50% all purpose, 50% whole wheat flour. Even the whole wheat versions of this recipe got crispy!
- Buttermilk - We do recommend real buttermilk as it gives so much delicious flavor to these waffles. However, you can use regular whole milk or almond milk in a pinch. See how to make buttermilk from whole milk here!
- Sugar - a tiny bit of sugar adds some subtle sweetness to this recipe! If you'd prefer you can use coconut sugar.
- Baking powder - make sure it's not out of date!
- Salted butter - if you have unsalted butter, add ¼ teaspoon salt. We haven't tested with coconut oil, but it should would work great as a butter alternative.
Tips for crispy waffles
When it comes to crispy buttermilk waffles, a few small details can make a big difference:
- do not over-mix your batter- this will cause your waffles to be dense and chewy. Fold your batter until *just* combined.
- preheat your waffle maker- though it's tempting to just get them cooking already, the waffle maker must be heated to the right temp if you want those crispy edges
- spray your waffle maker- this really depends on the model. We tested this on a newer teflon waffle maker (which was promptly returned and we would not recommend 😉 ) and it benefitted from an extra spray of oil. Old school waffle makers like the one we used in these photos really do require a spritz.
- check on them near the end of the cook time - especially for the first couple of waffles...it can be a fine line between crispy and burnt.
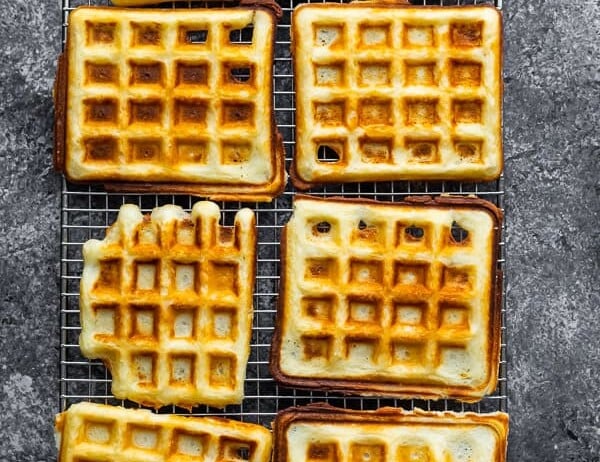
- store them on a wire rack - do not stack your waffles! They will lose their crispiness if you stack them. I recommend serving immediately, but if you can't, store in a single layer on a wire rack while you cook the rest. You can keep them warm in the oven at 200°F
- use a thinner waffle maker - thicker waffles, like a Belgian-style waffle maker will produce, may not be as crispy as thinner waffles.
Step by step directions
Mix the Dry
In a large bowl, stir together the flour, sugar, and baking powder.
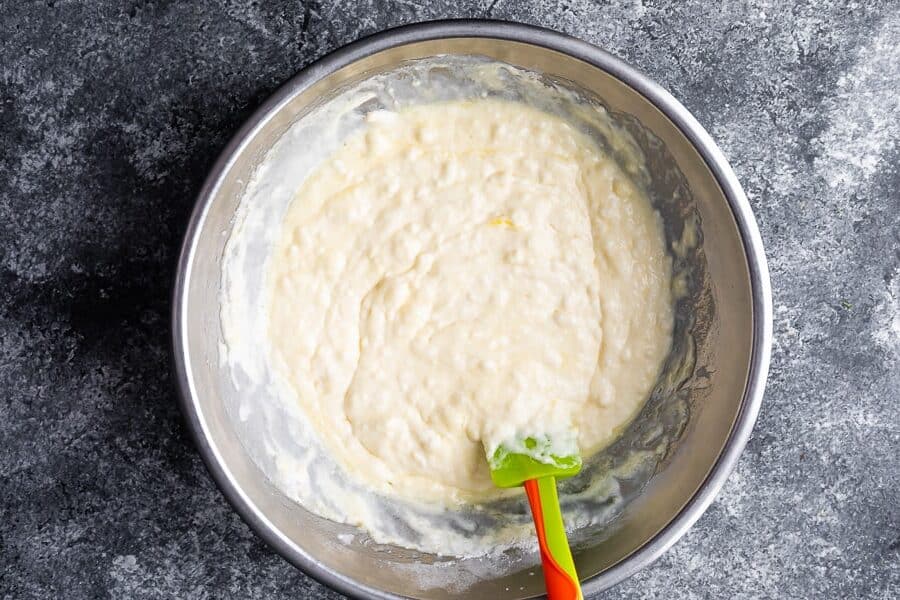
Add the Wet
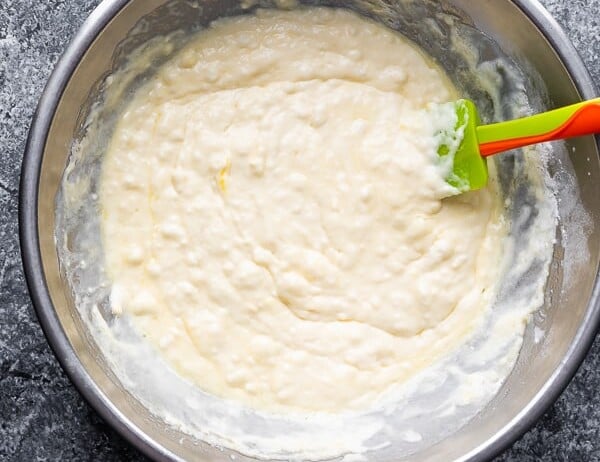
Add in the eggs and buttermilk. Break the eggs and mix into the buttermilk, then fold the mixture up slightly.
Add in the melted butter and mix until *just* combined. Do not over mix.
Note - We add the melted butter last so that the buttermilk doesn't chill it and make it re-solidify. This also helps protect the eggs from cooking upon contact with hot/warm melted butter.
Cook
Heat waffle maker on medium-high heat. Spray with oil if necessary. Spoon mixture into the waffle maker. The amount you will use depends on the size of the waffle maker. Ours required ½ cup per waffle. Check the waffle maker for directions for measurements!
Cook until edges are crispy and the waffle is cooked through (around 4 minutes).
Note - I am still using my Nana's olllld Philips waffle maker. This Waffle Maker looks like a great one to try!
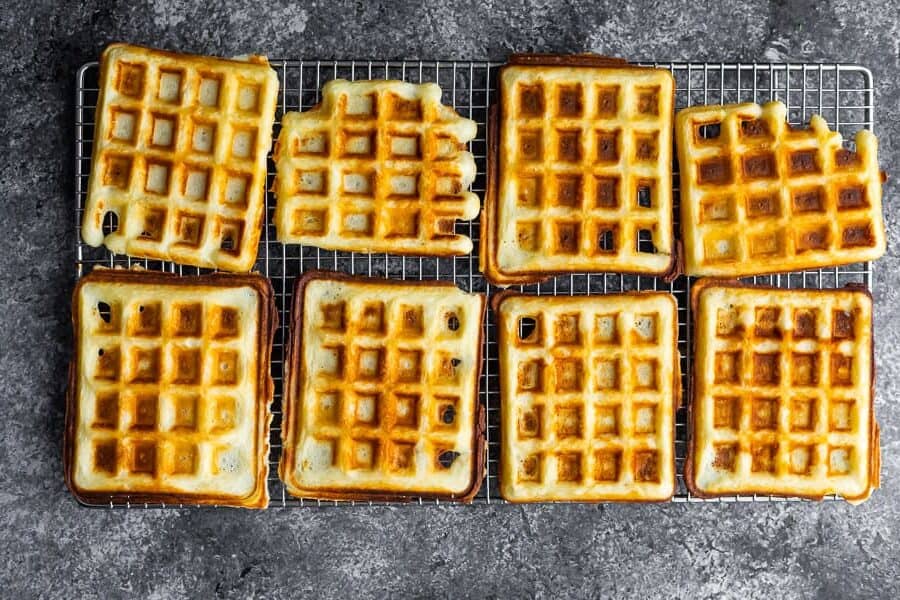
Cool
Store on a wire rack until you are ready to serve.
FAQ
This recipe has been tested with all-purpose flour and white whole wheat flour and worked well with both. We have not tested with alternative flours and don't believe the ratios would work the same.
We haven't actually tried this, but if you are looking for pancake recipes, we have 7 delicious homemade pancakes flavors on the blog!
Storage
- Fridge - these crispy buttermilk waffles may be cooked ahead, cooled, and stored in the fridge for up to 4 days
- Freeze - cook, let cool completely, then store in the freezer for up to 3 months.
- Reheat - pop waffles into a toaster and toast until crispy and warmed through!
Did you make this? Tag me on social @sweetpeasandsaffron and be sure to leave a comment and rate the recipe!
Crispy Buttermilk Waffles
Video
Ingredients
- 1 ½ cups all purpose flour 188 g; fluffed, spooned & levelled; * see note 1
- 2 tablespoons sugar coconut sugar may be swapped
- 4 teaspoons baking powder
- 2 large eggs
- 1 ½ cups buttermilk whole milk or almond milk may be swapped
- ½ cup salted butter melted; * see note 2
Instructions
- Mix the Dry - In a large bowl, stir together the flour, sugar, and baking powder.
- Mix the Wet - Add in the eggs and buttermilk. Break the eggs and mix into the buttermilk, then fold the mixture up slightly. Add in the melted butter and mix until *just* combined. Do not over mix. *see note 3

- Cook - Heat waffle maker on medium-high heat. Spray with oil if necessary. Spoon mixture into the waffle maker. The amount you will use depends on the size of the waffle maker. Ours required ½ cup per waffle. Check the waffle maker for directions for measurements!Cook until edges are crispy and the waffle is cooked through (around 4 minutes).
- Cool - Store on a wire rack until you are ready to serve.
Tips:
- Fridge - waffles may be cooked ahead, cooled, and stored in the fridge for up to 4 days
- Freeze - cook, let cool completely, then store in the freezer for up to 3 months.
- Reheat - pop waffles into a toaster and toast until crispy and warmed through!
Nutrition Information
© Sweet Peas & Saffron - Content and photographs are copyright protected. Sharing of this recipe is both encouraged and appreciated. Copying and/or pasting full recipes to any social media is strictly prohibited.
Shop This Post

Hi, I'm Annie. With a Bachelor of Science degree, a minor in nutrition and nearly 20 year of both classical training, and self-taught experience, I've spent my career proving that home cooking can be practical, delicious and inspiring. What started in 2013 as one food blog has grown into a full-time business. Today, my husband Clayton and I run five food websites that connect with millions of home cooks every month.
When I'm not in the kitchen or behind the camera, I'm using fueling my love of travel, or chasing down new ideas that keep food fun and fresh.


Robin says
Great, simple recipe and delicious! Will definitely be saving this recipe.
Ben | Sweet Peas & Saffron says
Hi Robin, It makes us happy to hear you plan to make this recipe again, thanks for commenting
Cathy Thelen says
You forgot to link how to make buttermilk.
Jasmine @ Sweet Peas & Saffron says
Hi Cathy, thanks for pointing that out! We have updated the post and linked the buttermilk recipe 🙂