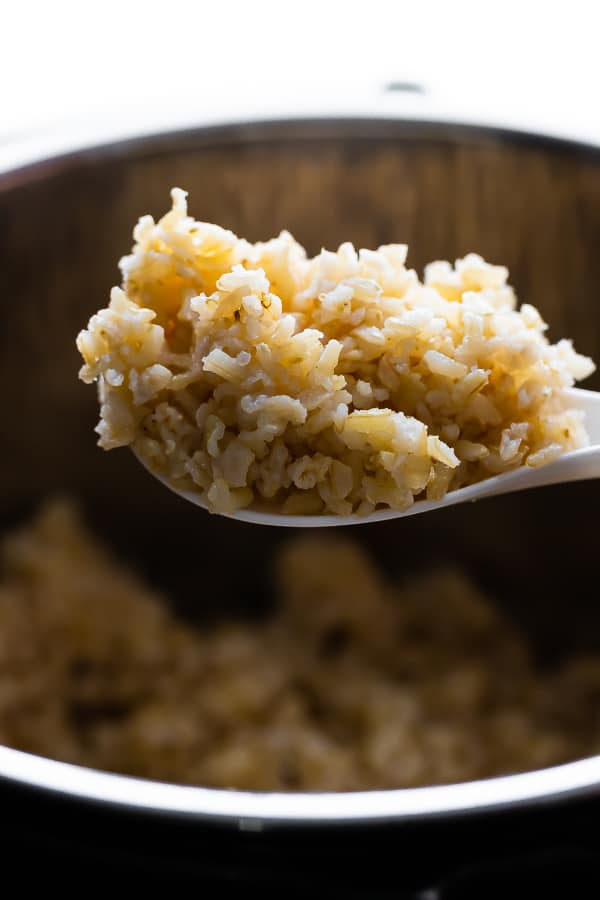
Step by step directions get perfect, fluffy Instant Pot basmati rice. The pressure cooker gets it cooked in a fraction of the time, and with a few tricks, it can deliver that fluffy texture you want. This post includes directions for cooking both white and brown basmati rice.
The Instant Pot is a fantastic way to cook your grains: from creamy Instant Pot steel cut oats to fluffy Instant Pot quinoa, and even farro! And I'm excited to finally be sharing this recipe for fluffy Instant Pot basmati with you.
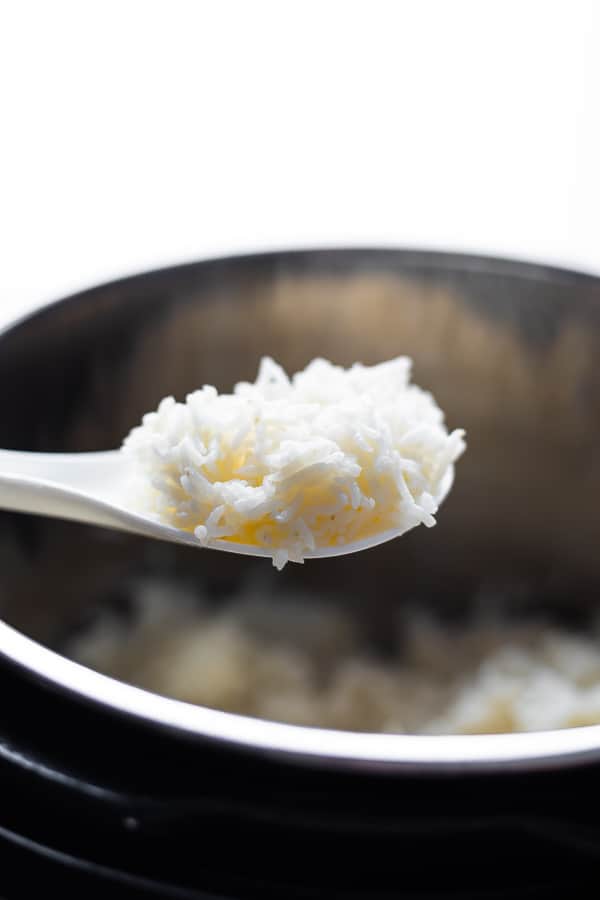
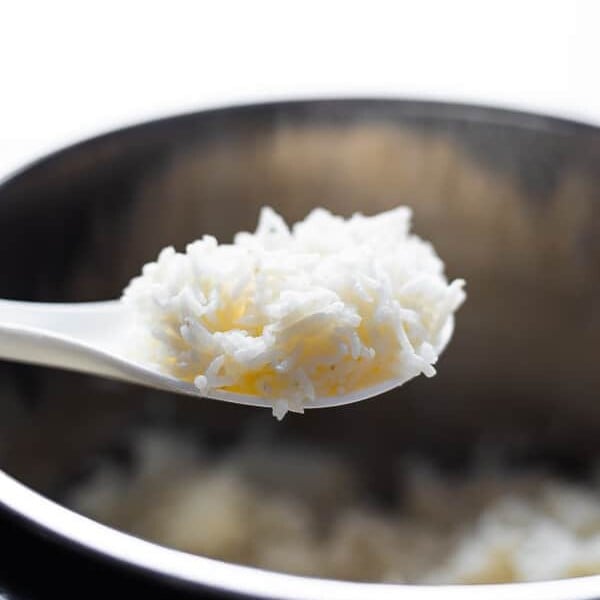
A good, fluffy bowl of perfectly cooked rice looks so simple, but it can be frustrating if you've ever had it come out sticky or mushy! This Instant Pot method ensures that your delicious basmati rice comes out aromatic, light, and tender, never clumpy. I'll share a few of the tips and tricks I've picked up along the way so you can get it right the first time!
Why You'll Love This Instant Pot Basmati Rice
- it cooks quicker than on the stove or in a rice cooker
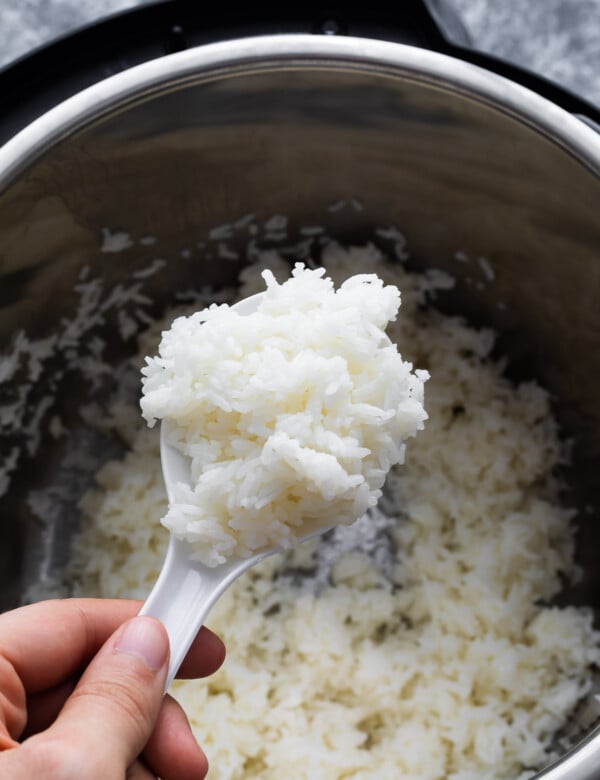
- with my tips, it comes out fluffy each time
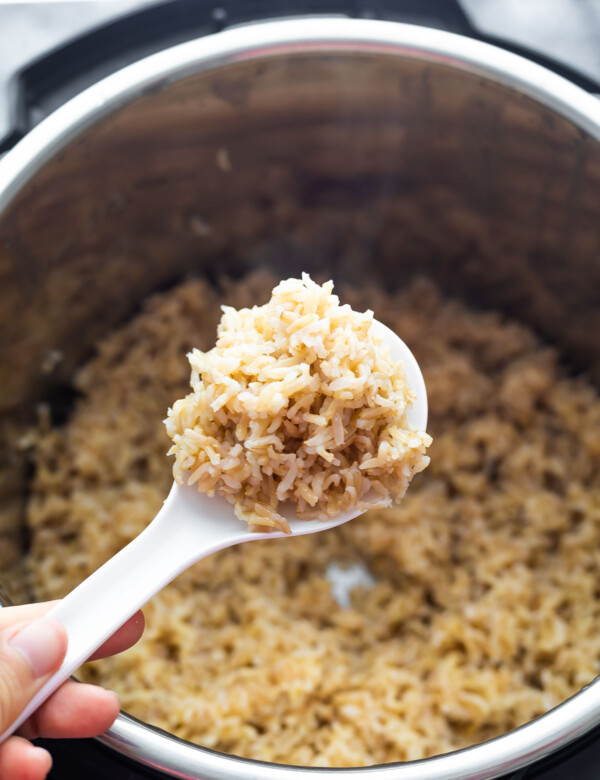
- both white and brown basmati come out perfectly
What is Basmati Rice?
Basmati rice is a long-grain rice with a nutty flavor and slightly dry texture. It can come in brown or white varieties and holds seasonings very well. It has a lower glycemic index as well, making it better than white rice for stable blood sugar. The texture is more likely to be fluffy, not sticky.
Recipe video
Watch the video below to see how to cook both white and brown basmati in a pressure cooker! You can find more recipe videos on my YouTube channel.
Don't forget to pin this post to save it for later!
Ingredients Needed for Instant Pot Basmati Rice
- Basmati Rice - Different types of rice require different cooking times and treatment, so be sure you're using the right one! Check out my posts for jasmine rice, brown rice, or sushi rice if you have those types.
- Water & Salt - Feel free to swap this for a good broth to add even more flavor.
- Coconut Oil - This is technically optional, but I do find that it fluffs up the rice the best! Butter can be used as well, but we enjoyed the texture with coconut oil most.
How to Cook Basmati Rice in the Instant Pot
- Rinse your rice in a colander under the tap.
- Add rice to the stainless steel insert of your Instant Pot
- Add water
- Add salt
- Mix up evenly
- Pressure cook for 3 minutes (white basmati) or 22 minutes (brown basmati)
Start by rinsing the rice
If you want perfect, fluffy Instant Pot basmati, the first step is always to rinse your rice. Rinsing the rice removes the starches on the surface of the rice grains, which can cause the rice to clump together and become gummy. Not only that, but it adds extra moisture to the pot which I found to be essential in getting that perfect texture.
You can rinse in a colander, or by swirling with water in the Instant Pot. Make sure to decant as much water as possible, and scrape any extra rice off the sides of the pot.
Water ratio
Most Instant Pot basmati recipes call for 1 cup of water to 1 cup of rice. This results in a much firmer rice texture than I personally enjoy. In fact, the top layer of rice came out crunchy for me!
Not only do I suggest rinsing your rice, which adds extra liquid to the pot, but I also suggest using a ratio of 1 ¼ cups water to 1 cup of rice.
Rice should be in an even layer
This might sound super obvious to you, but the first time I cooked my rice in an Instant Pot, it was not even across the surface, and this resulted in a small 'peak' of rice that did not cook through.
After adding all your ingredients to the stainless steel insert of your Instant Pot, give them a gentle stir to ensure that the rice forms a somewhat even layer across the surface of the pot.
Use the pressure cook setting
Yes, your Instant Pot has a rice setting which cooks on low pressure. No, I don't use it. In a side-by-side comparison to the 'pressure cook' setting, I actually found the pressure cooked rice to be softer and fluffier. Feel free to experiment on your own if you want to try it out!
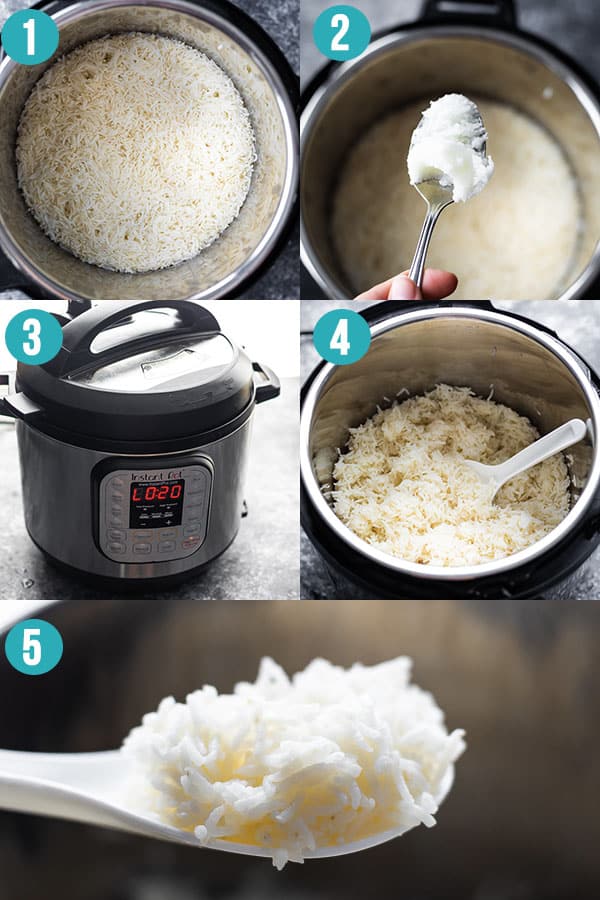
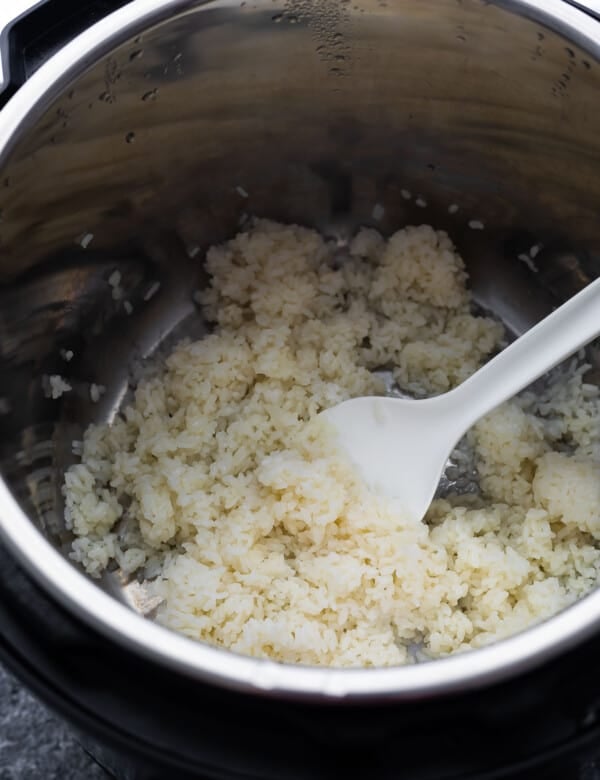
Fluff up your rice
- After cooking on high pressure, allow the pressure to release naturally (this takes around 15 minutes).
- Add 1 tablespoon of coconut oil or butter to the pot, and fluff up the rice using a fork or spoon.
- Place the lid back onto the pot and allow it to sit for 5 minutes.
- Fluff it up again...
- ...and serve immediately. Instant Pot basmati rice firms up more quickly than stove top or rice cooker rice.
Instant Pot Basmati Rice Recipe Variations & Substitutions
- Try something different - Use turmeric for yellow rice or go a little sweet with this coconut rice.
- Make it herby - Try a pesto rice or herby lemon rice for an easy, fresh tasting side dish or base for grain bowls.
- Go Mexican - Consider the salsa-based Mexican rice or some loaded with cilantro lime flavor, perfect for pairing with tons of classic Mexican dishes. If you want a bit more work but way more flavor, try enchilada rice.
Basmati Rice Recipe Tips
- vinegar- in my perfect brown rice tutorial, I suggest adding a teaspoon of apple cider vinegar to the recipe to help improve the texture. When adding it to the Instant Pot, I found it to come out much gummier than stove top. I suggest leaving it out unless you like a really soft and somewhat gummy texture to your rice.
- 6 vs 8 quart- though the 8 quart Instant Pot specifies that it requires 1.5 cups of liquid to come to pressure, I had no issues cooking 1 cup rice + 1 1 /4 cups water.
- extra flavor- you may swap the water for chicken stock or bone broth for extra flavor in your rice
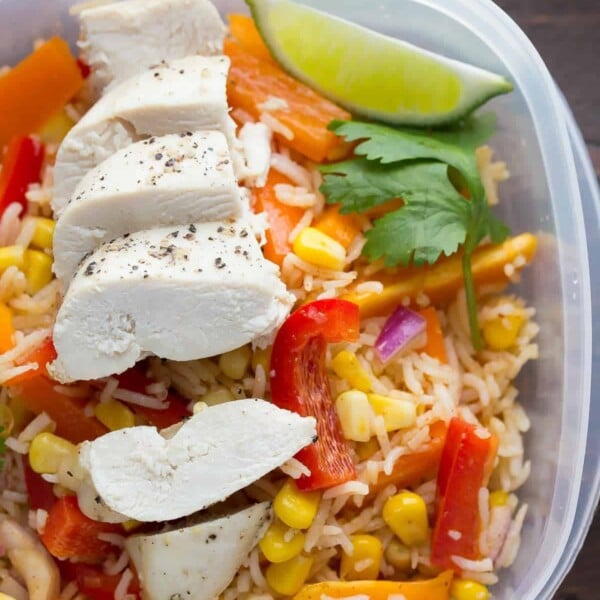
- meal prep- rice may be cooled and stored in an air tight container in the fridge for up to 4 days. Reheat until steaming hot, and reheat only once.
- expansion- since rice expands, you should not fill your Instant Pot more than half full.
- yield- Instant Pot rice yields a smaller volume when cooked than stove top. For 1 cup of basmati rice, we get 3 cups cooked on the stove top and only 2 cups in an Instant Pot.
Serving Suggestions for Basmati Rice
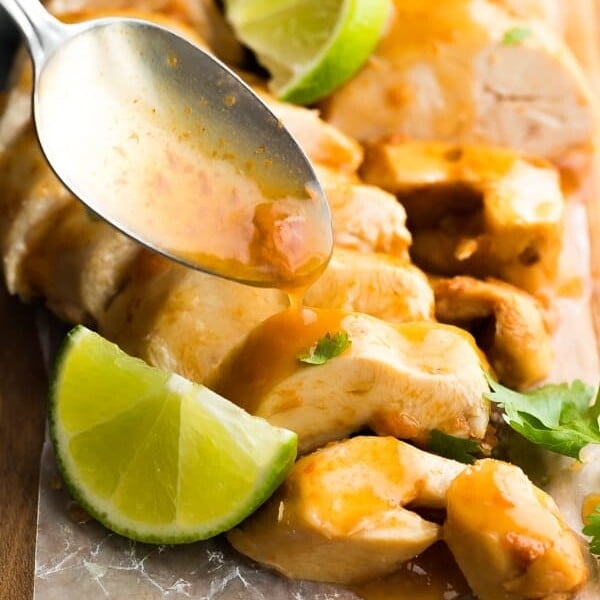
This is a great base and pairing for so many different cuisines and dishes! Jazz it up with simple seasonings, a little butter, and some fresh herbs. It's so versatile, you could serve it with butter chicken, in a bowl with lentil curry, in a salmon wrap, or alongside tofu stir fry. It's even great to pair with any kind of homey meat and veggie dinner like this roasted pork tenderloin recipe.
How to Store Instant Pot Basmati Rice
Cool your rice quickly, then store in airtight containers in the fridge up to 3-4 days. You can even freeze cooked basmati rice for an easy meal prep side dish! To prevent it from getting gummy, spread your cooked rice on a baking sheet and set it in the fridge for a couple of hours (this lets it dry out a bit and ensures it's definitely not warm when it goes into the freezer). Scoop it into freezer-safe bags, press out as much air as possible, and freeze up to 2-3 months for the best quality. Reheat it in the microwave with a sprinkle of water or a damp paper towel.
Instant Pot Basmati Rice Recipe FAQs
You can cook basmati rice with or without soaking, but soaking does have its benefits. It's believed that you get more even cooking with soaked rice as the soaking helps separate grains and preventing clumping. Sometimes when I'm decanting rice, I leave it in the pot of water to soak a bit, and that seems to be the perfect compromise of speed and quality for me. Feel free to soak for a full 30 minutes or longer if you like!
You may see four different types of basmati rice at the grocery store; they all will work in this recipe, so you can choose your type based on your preferences. Super basmati is extra-long and great for pilaf or other dishes where fluffy, distinct rice texture is important. Pusa basmati is a hybrid that is also very long and less expensive. Brown basmati is chewier and has more nutrients because it still has the bran layer on the outside. Aged basmati has a stronger flavor and fluffier texture because of the aging process it has gone through.
Rinsing the rice very well is super important when it comes to avoiding sticky rice! This process eliminates the excess starch on the outside of the grains, so skipping it leads to a very sticky dish. Make sure to follow the water ratio and cooking times exactly. If you're still struggling with sticky rice, try soaking it for 30 minutes ahead of time as well.
Did you make this? Tag me on social @sweetpeasandsaffron and be sure to leave a comment and rate the recipe!
Perfect, Fluffy Instant Pot Basmati Rice (Brown + White)
Video
Ingredients
- 1 cup basmati rice
- 1 ¼ cups water
- ¼ teaspoon salt
After cooking
- 1 tablespoon coconut oil (or butter)
Instructions
- Rinse rice in a colander under the tap, or by swirling in water in the Instant Pot stainless steel inner pot.
- Drain rice, then place in the Instant Pot stainless steel inner pot. Add water and salt. Stir gently to create even coverage of the rice across the bottom of the Instant Pot.
- Place the lid on the Instant Pot and set the steam release handle to the 'sealing' position. Set the Instant Pot to 'pressure cook' (or 'manual' on older models) for 3 minutes (white basmati) or 22 minutes (brown basmati).
- The Instant Pot will take roughly 6 minutes to come to pressure.
- Once pressure cooking has finished, allow the pot to naturally release (roughly 15 minutes)
- When the pin drops, remove the lid and stir in the coconut oil, fluffing up the rice with a spoon.
- Place the lid back on and allow it to sit for 5 minutes.
- Enjoy!
Tips:
- this recipe has been tested in both a 6 and 8 quart Instant Pot
- you may double the recipe with the same cook time; never fill the Instant Pot with rice above the half way line
- swap the water for vegetable or chicken stock for extra flavor
Nutrition Information
© Sweet Peas & Saffron - Content and photographs are copyright protected. Sharing of this recipe is both encouraged and appreciated. Copying and/or pasting full recipes to any social media is strictly prohibited.

Hi, I'm Annie. With a Bachelor of Science degree, a minor in nutrition and nearly 20 year of both classical training, and self-taught experience, I've spent my career proving that home cooking can be practical, delicious and inspiring. What started in 2013 as one food blog has grown into a full-time business. Today, my husband Clayton and I run five food websites that connect with millions of home cooks every month.
When I'm not in the kitchen or behind the camera, I'm using fueling my love of travel, or chasing down new ideas that keep food fun and fresh.
Peg says
We loved this - great flavor! Took longer to prepare than I expected, although I should have realized all the chopping would take longer than 10 minutes.
Patty says
Love it! First rice recipe that i've tried in the Instant Pot, thank you.
Denise Bustard says
Hi Patty! I'm so happy to hear this! Thanks so much for taking the time to leave a review <3
Carole says
Hi, I need to quadruple this recipe. How long will I need to cook it? Thanks so much!
Denise Bustard says
Hi Carole! You can definitely double this recipe as written, however I've never tripled or quadrupled it before. Make sure you do not fill the Instant Pot more than halfway with ingredients like rice or beans that tend to expand. If you do try it out 4x, I'd love to hear how it goes for you <3
Sara says
Came out perfectly, thanks!
Denise Bustard says
Woohoo! Happy to hear the recipe was a success for you, Sara! Thanks so much for reporting back 🙂